


Telstra this week has launched eSIM support, making them the first carrier to support eSIM devices other than wearables (eg, the Apple Watch and Samsung Galaxy Watch, which only support ‘number sharing’ plans and not separate accounts).

While this is ‘officially’ only supported on Windows 10 devices with a built in eSIM (such as the 2017 Microsoft Surface Pro, or a handful of HP Spectre models), as the eSIM is just another standard (like ye olde plastic SIM), most other devices that support eSIMs can make use of this.
Current devices that support eSIMs range from Windows 10 devices (as above), through to Apple’s iPhone XS, XS Max and XR, the Apple iPad Pro (2017) and Google’s Pixel 3/XL.
Telstra currently offers two eSIM specific plans; the ‘Telstra Mobile Data Connect’ plan on prepaid (which will give you 30GB for free to kick things off, which expires 30 days from activation), and the ‘Mobile Data Plan 10GB’ on postpaid (offering 10GB for $10/month).
On Windows 10, you make use of the ‘Mobile Plans‘ app to officially sign up for these eSIM plans, where Telstra appears as an option alongside Ubigi and GigSky. Things are pretty easy, as you’d expect (being ‘officially supported’) – it’s pretty much as easy as hitting ‘Get connected‘ and following the steps. But it turns out, the Mobile Plans app is merely just a browser window, and if you find a link in the Mobile Plans app, you can drag it into another browser like Chrome or Edge. And that’s how you can work out how to make eSIMs happen on other devices. 😉
Here is how you can activate and ‘provision’ an eSIM device on the Telstra Mobile Data Connect prepaid plan, and then add it on an Apple iPad or iPhone.
First up, you’ll need internet access. If you’ve got an iPhone XS or XR, you can use your existing SIM to provision this Telstra prepaid one. If you
have an iPad Pro, make sure you’re connected to WiFi. You can’t sign up and provision an eSIM without an existing internet connection (like you can with an Apple SIM or using the eSIM built into Windows 10 devices).
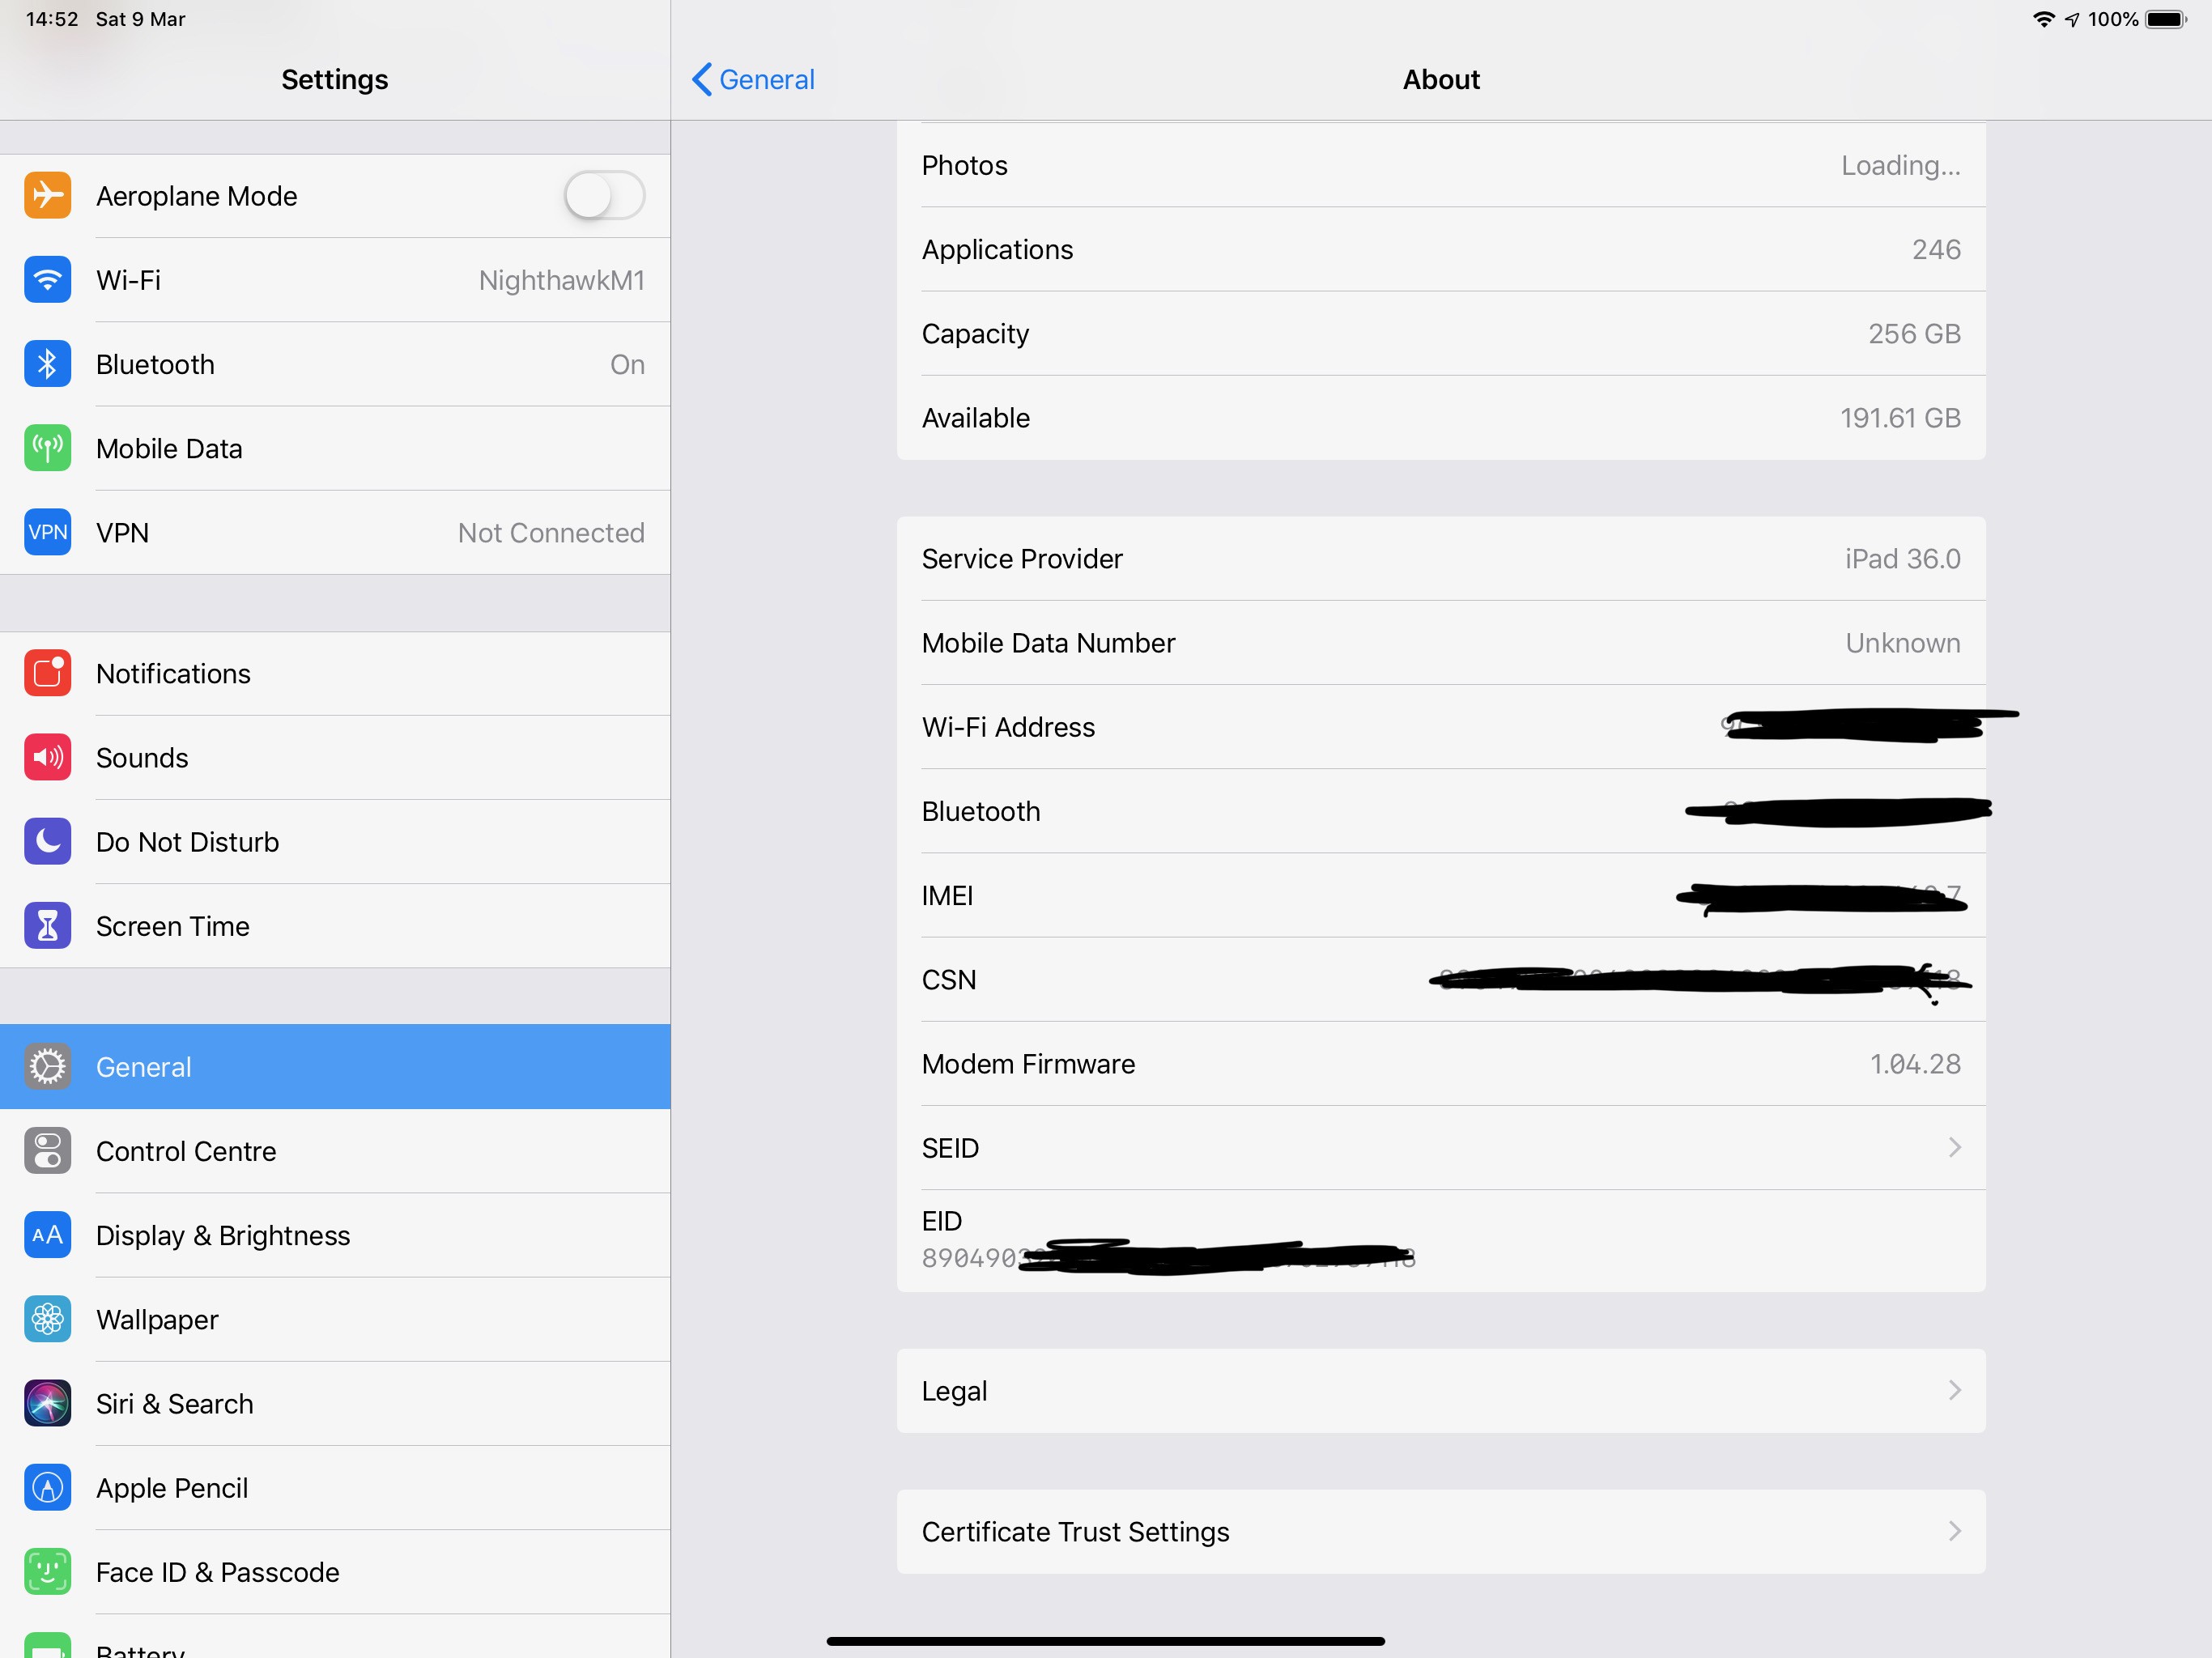
Go to the Settings app, then tap on ‘General‘, and then ‘About‘. Scroll down to the EID section, tap and hold, and then tap ‘Copy.’
Now, you can either do this in Safari on the iPad, or feel free to do this on a desktop/laptop/other device – you just need the EID to kick things off.
Open a web browser, and head to
http://telstra.com.au/prepaidactivation/welcome?eid=890490000000000000000000
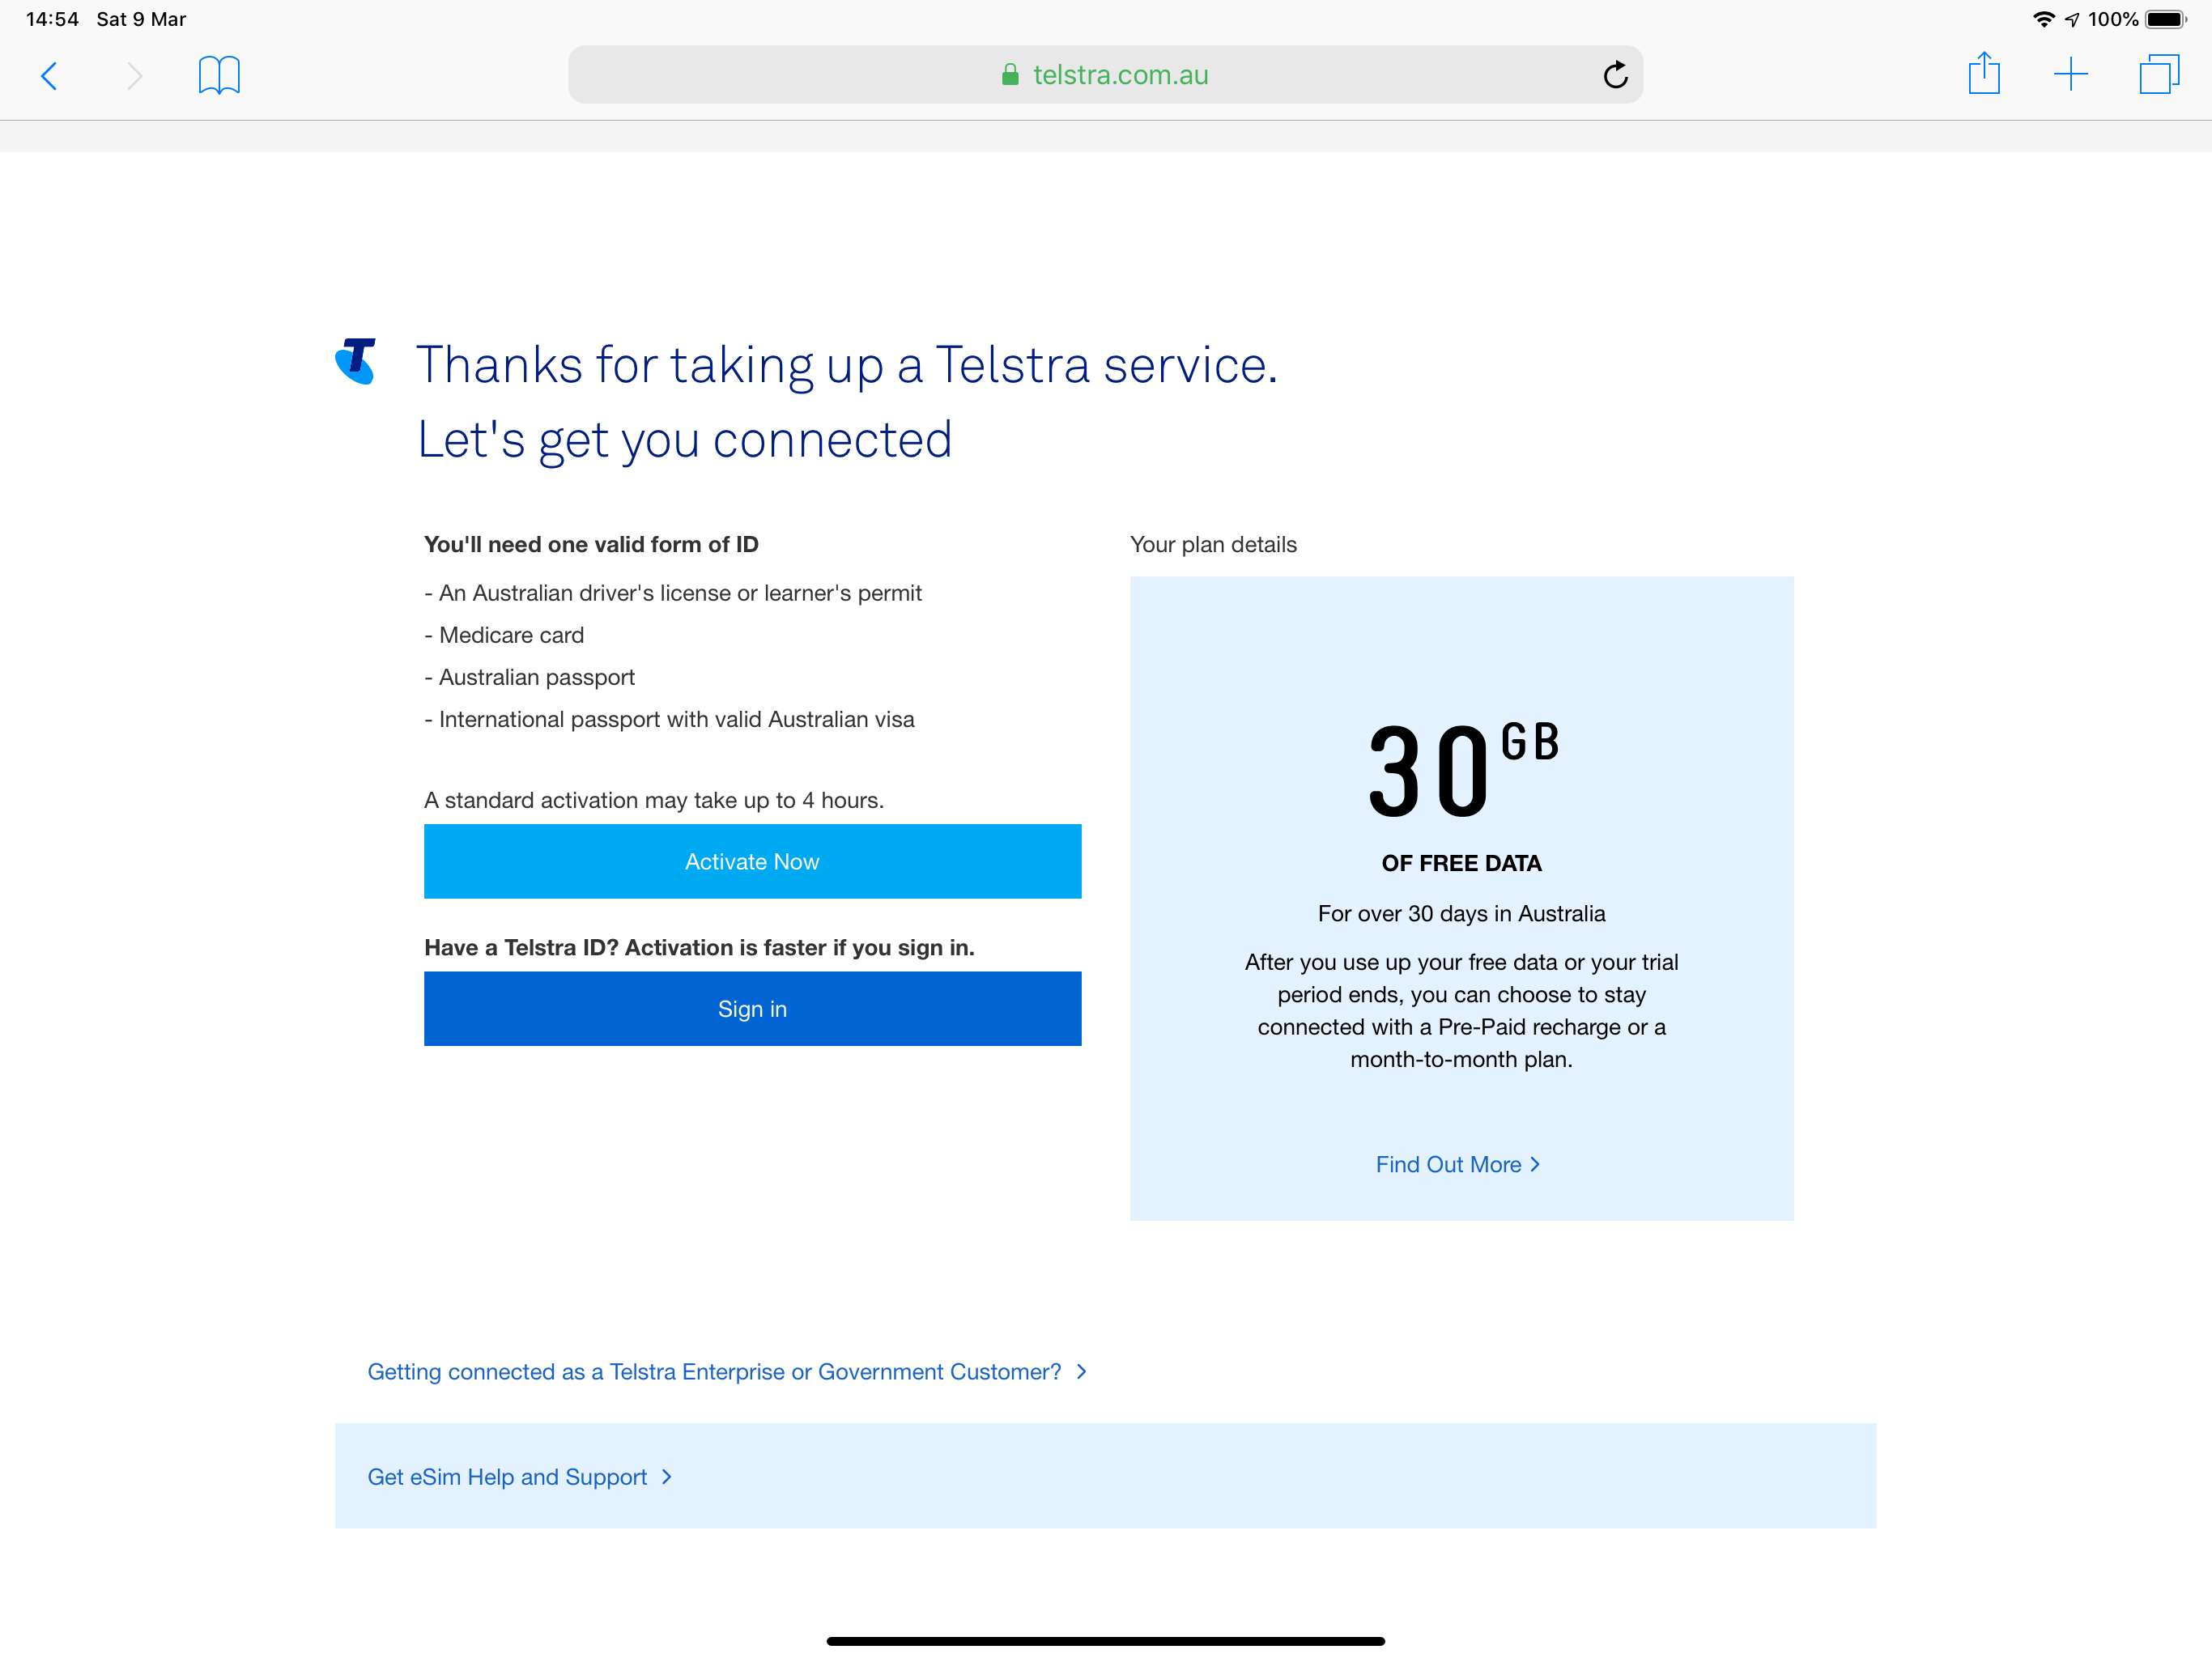
(but replace the EID in this URL with the EID from your device!). You should see this ‘Offer’ screen, detailing the Telstra Mobile Data Connect prepaid offer, with a link to ‘Activate Now’ (if you’re not an existing Telstra customer’), or ‘Sign In’ if you have a Telstra ID.
Activation is just like any other prepaid service, nothing exciting here. Provide your identification, and you’re good to go.
After providing all the required details, you’ll come to the final ‘View your details’ page, showing your new prepaid service number. Hit ‘Activate’, and you’ll end up on another page with a spinning purple wheel.
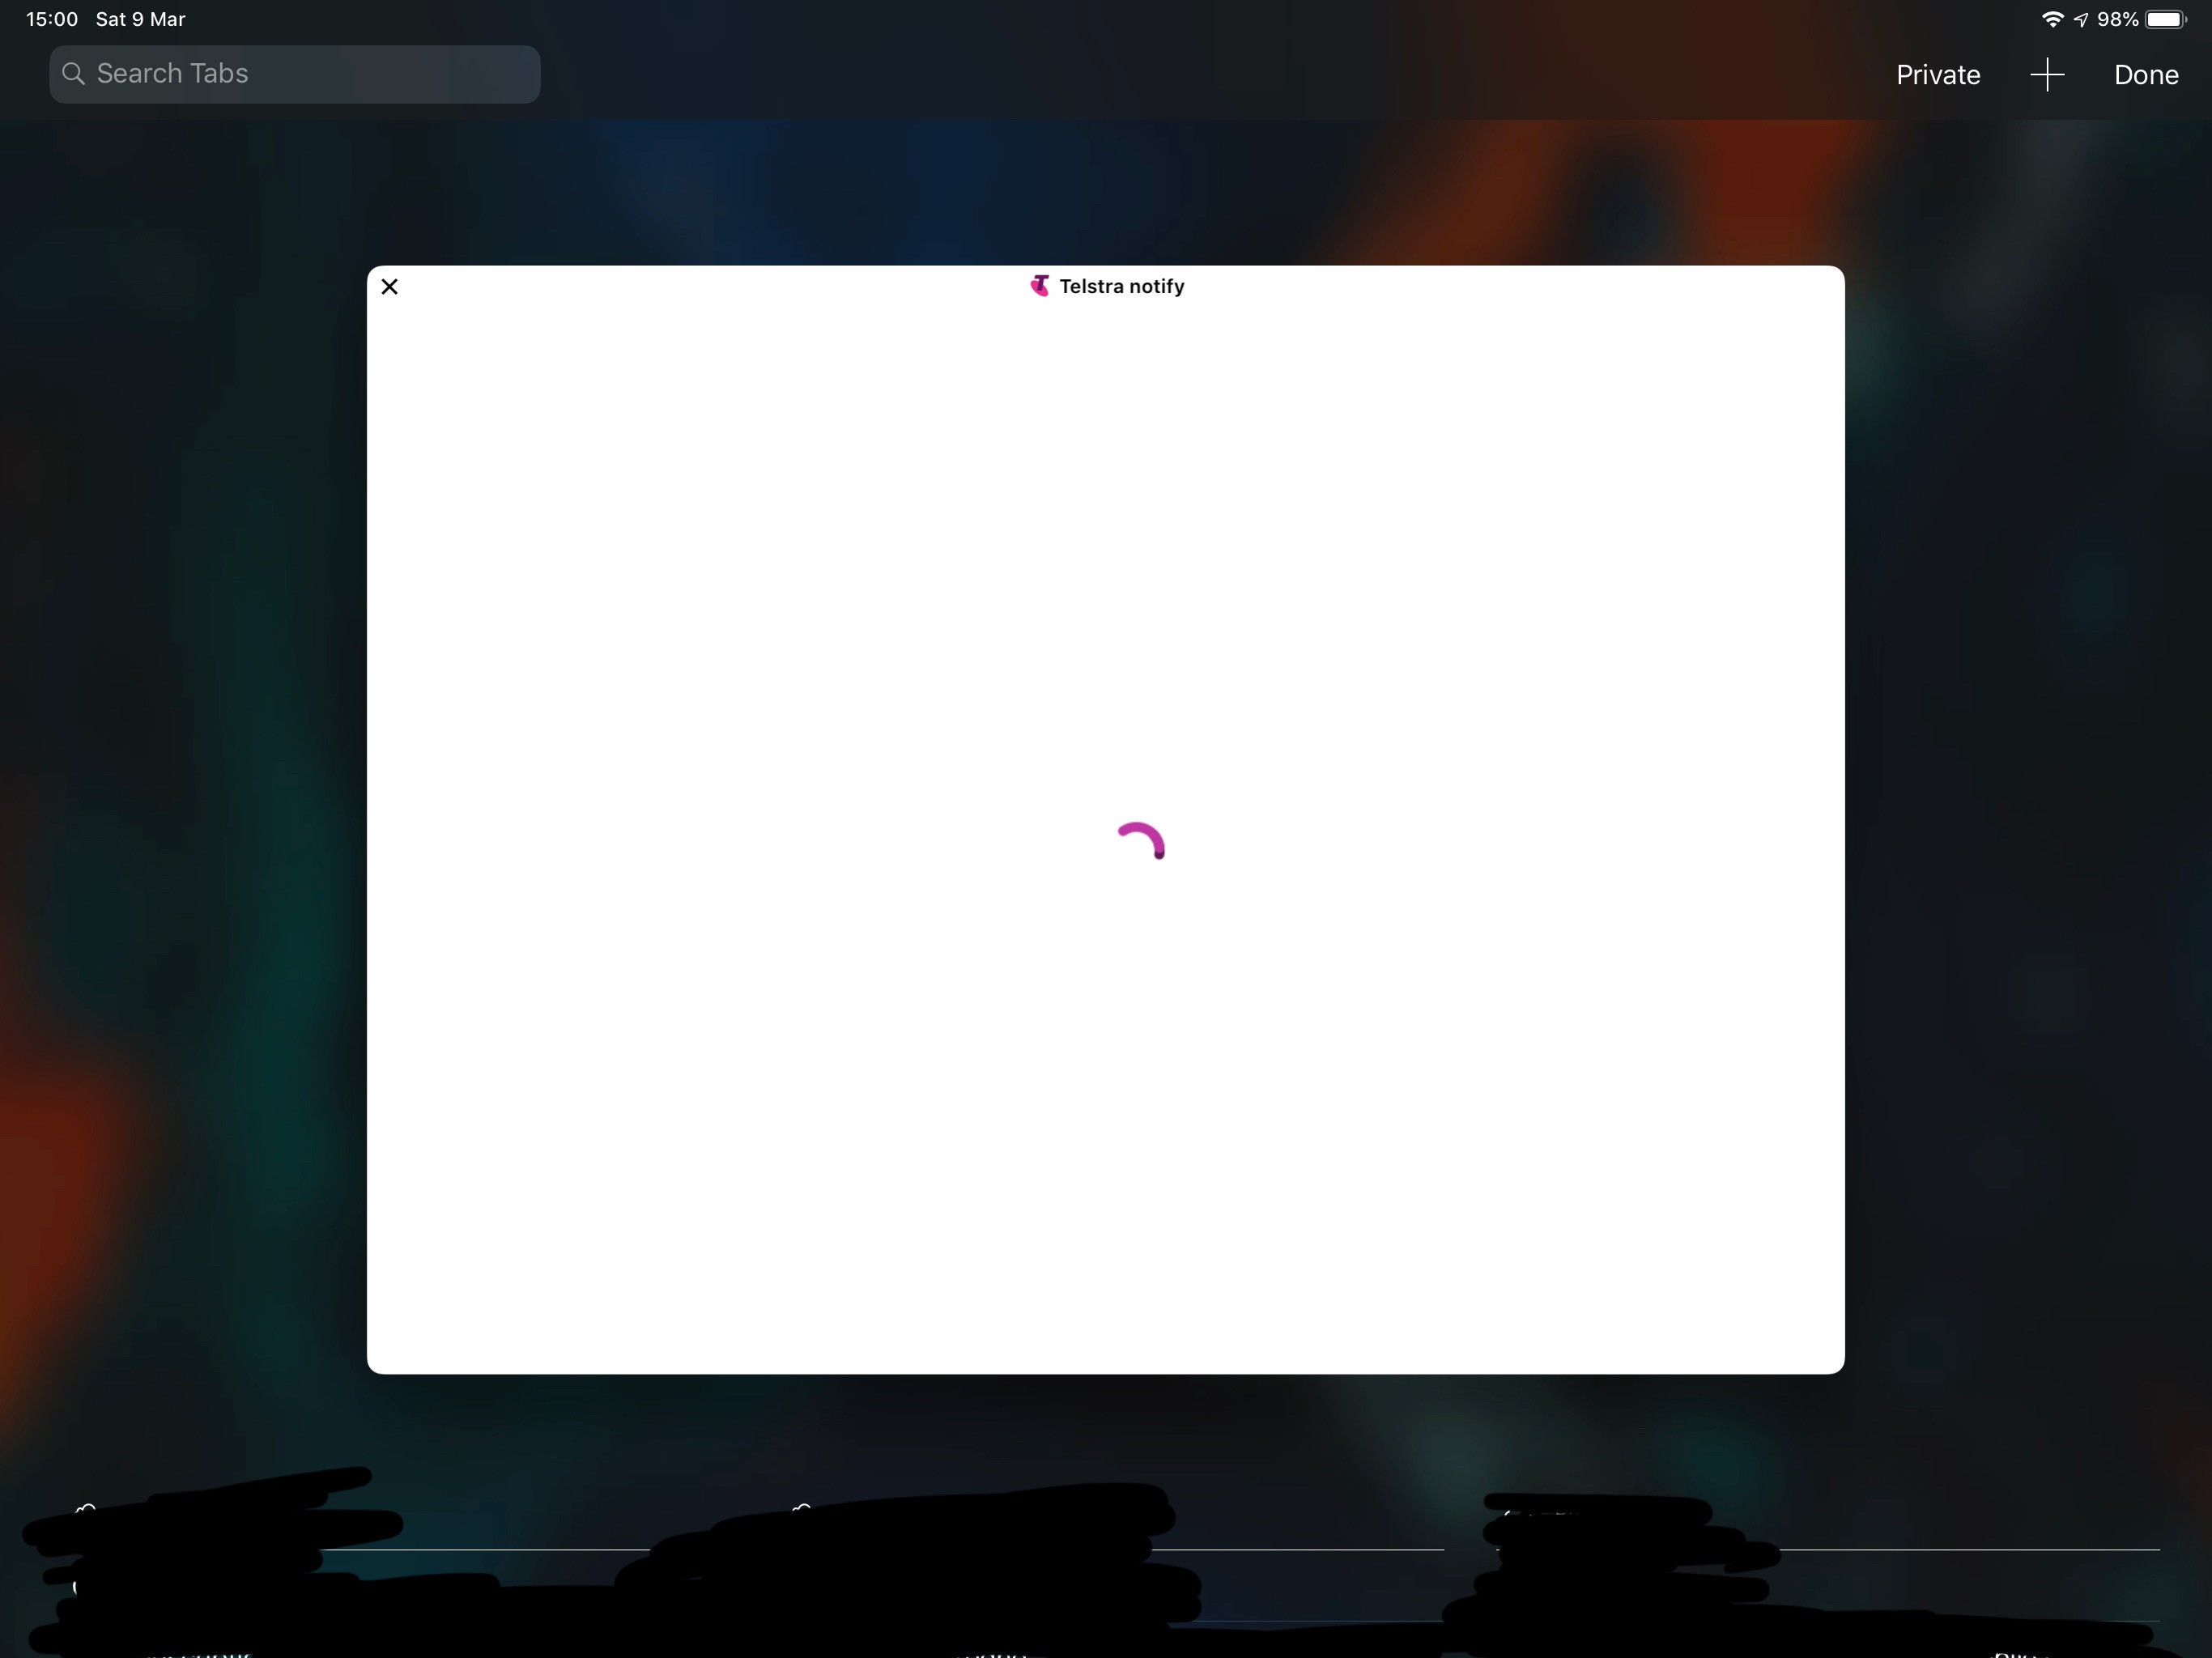
The page looks like this, and if you’re looking at it on a desktop browser, the URL is
https://www.telstra.com.au/content/tcom/apps/telstrappa/notify.htm?eid=XXXXXXXXXXXX&iccid=XXXXXXXXXXXX&activationCode=1$usmdp-v4-017-prod-muc1-eb.venyonservices.com$XXXXXXXX®Int=60
If you’ve made it this far – congratulations, your eSIM is ready to add!
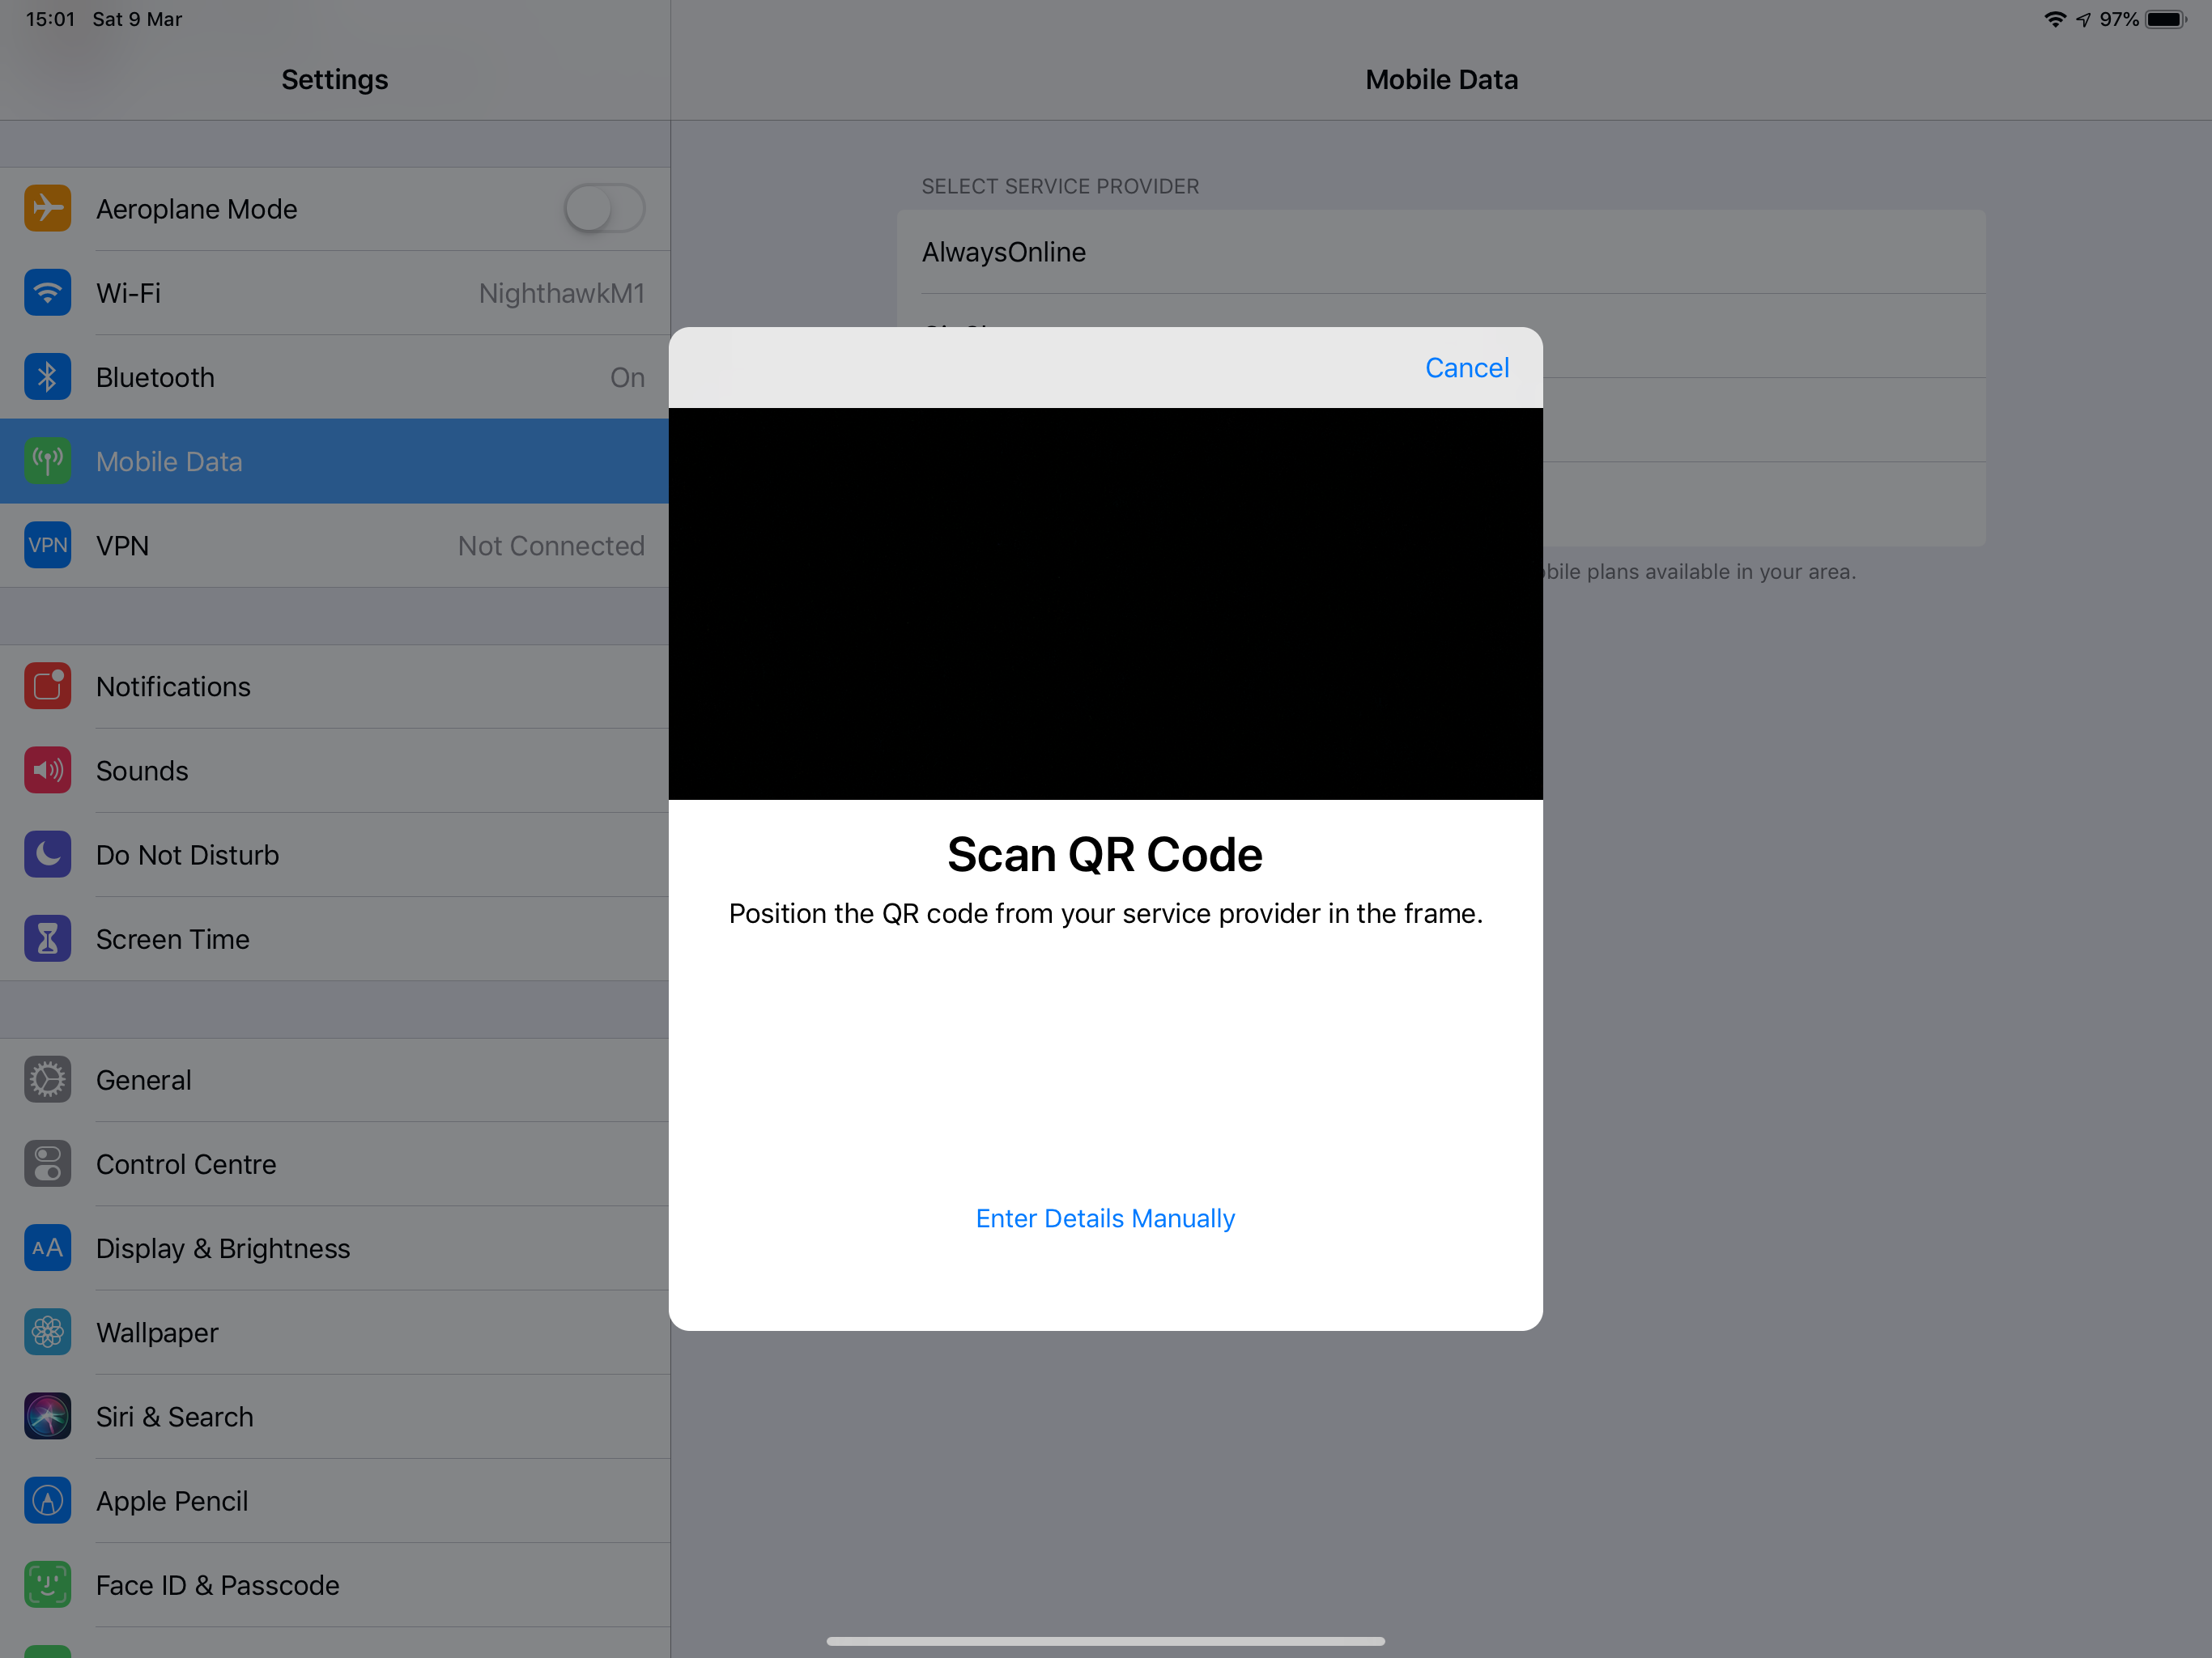
On your iPad, go to Settings, then tap Mobile Data. Tap on ‘Other’ if you don’t already have a SIM inside, or tap on ‘Add a New Plan’ if you do.
Scan QR Code will pop up – as we don’t have a QR code, tap on ‘Enter Details Manually’
In the SIM-DP+ Address, enter
usmdp-v4-017-prod-muc1-eb.venyonservices.com
(You’ll recognise this from the URL in the last step). You can leave the Activation Code and the Confirmation Code blank (presumably as we’ve already given the device EID to Telstra, that’s all the confirmation that’s needed. At this point in time anyway).


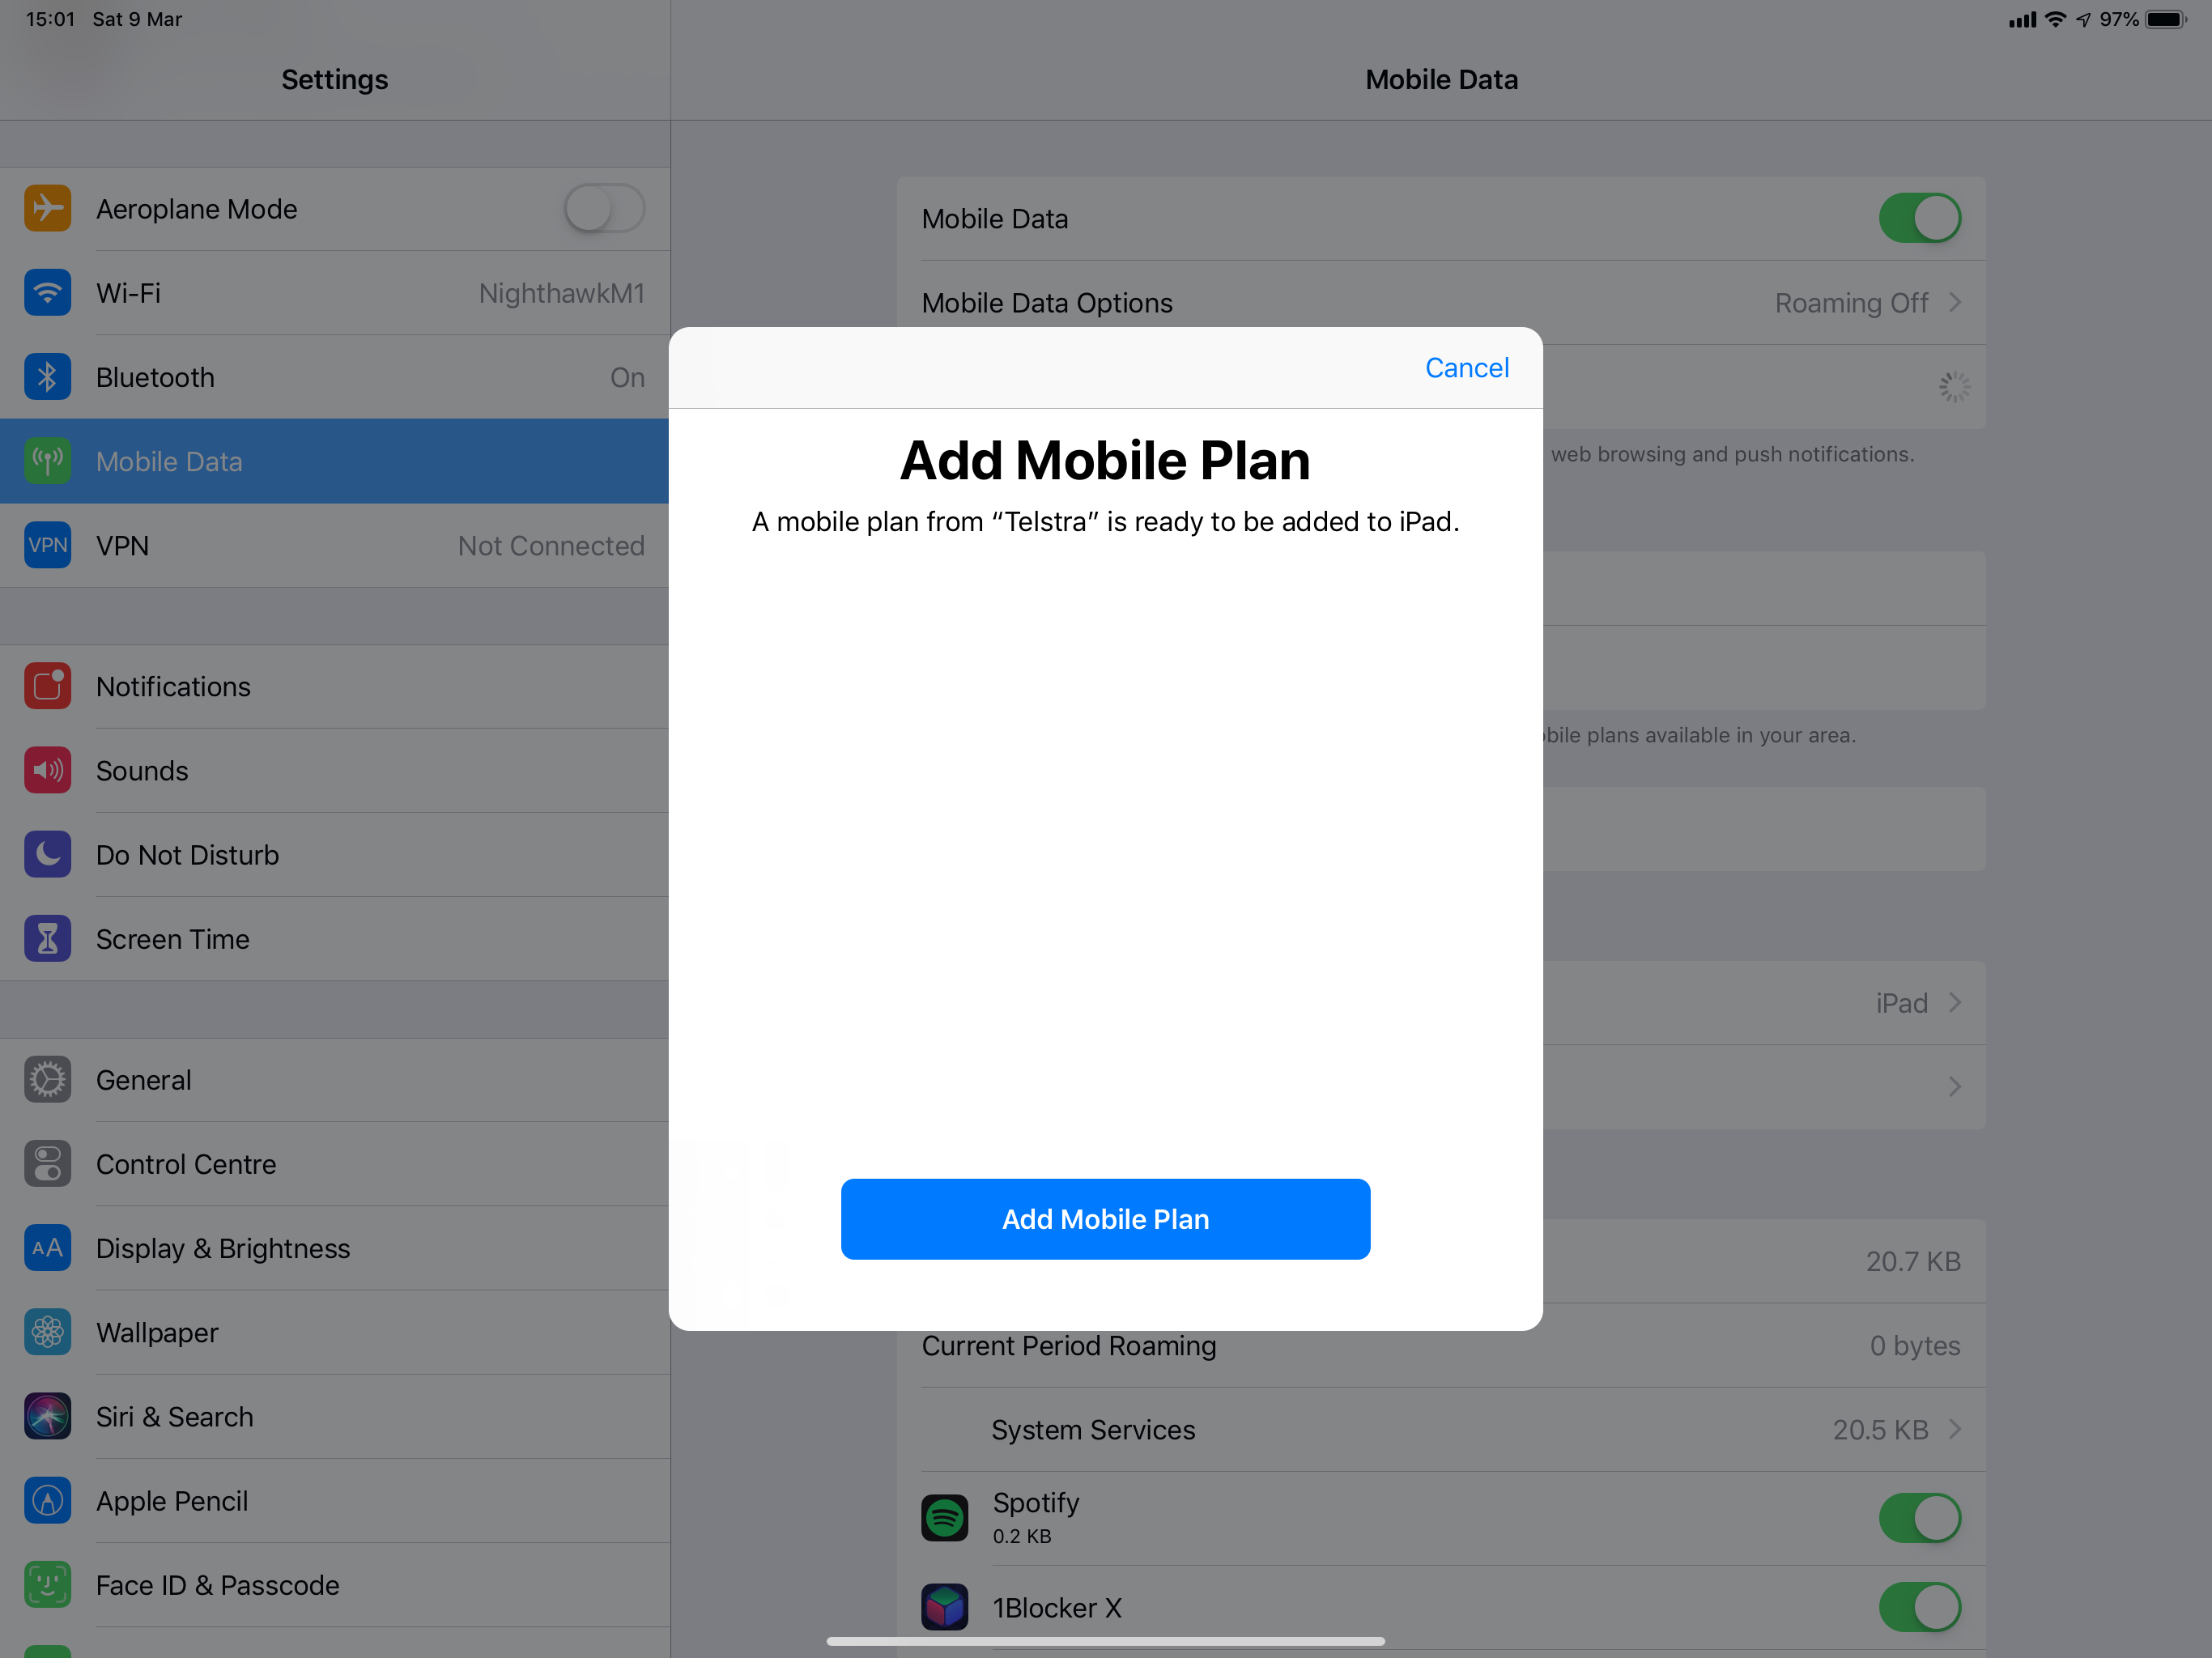
You should now see a ‘Add Mobile Plan’ prompt, notifying you that a new plan from Telstra is ready to be added. Tap ‘Add Mobile Plan’, give it a few minutes and then you should see the plan activate, and then you’re all good to go!
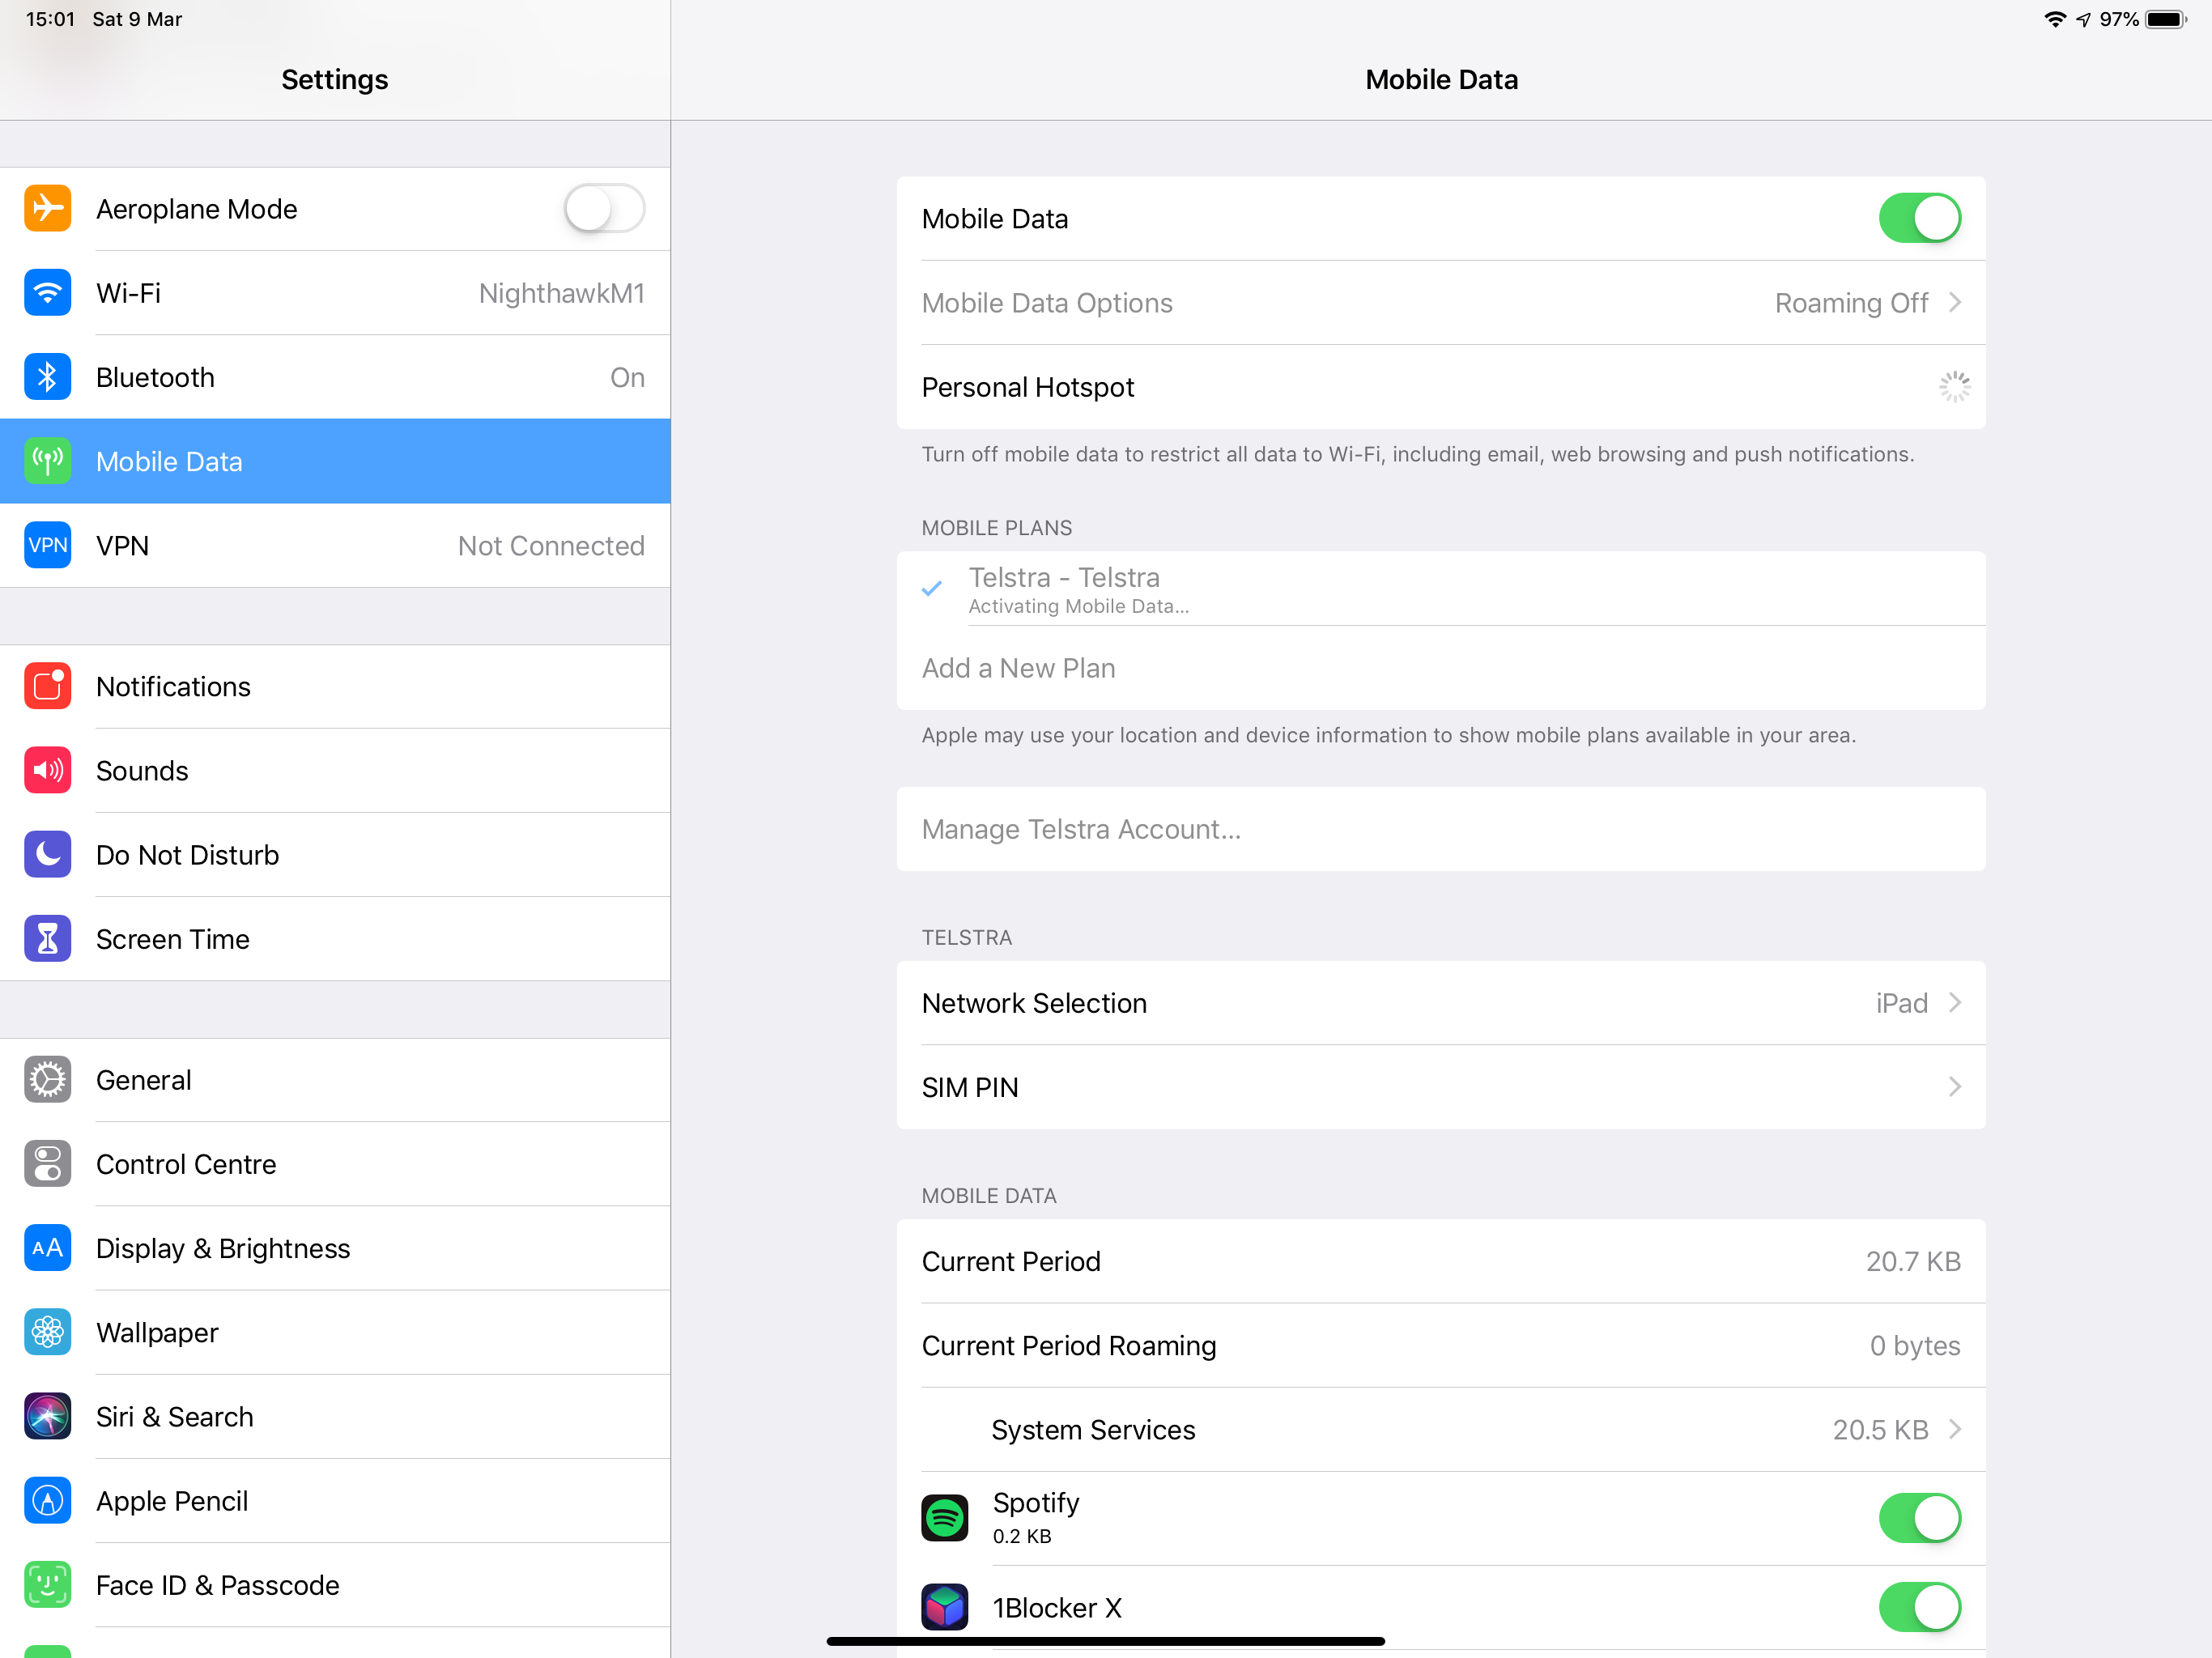
Now you’ve just provisioned a brand new eSIM on Telstra’s ‘Telstra Mobile Data Connect’ prepaid plan – with 30GB to use for 30 days, and then the option to recharge at the end if you want to continue using it.
Thanks for this but unfortunately the hyperlink doesn’t work and takes you to a normal SIM activation page. I did replace the eid with mine.
http://telstra.com.au/prepaidactivation/welcome?eid=890490000000000000000000
Sad times!
Hi Beau, great discovery. I tried to follow it but http://telstra.com.au/prepaidactivation/welcome?eid=890490000000000000000000 doesn’t bring up the offer page. It just goes to the default prepaid page which has URL this https://www.telstra.com.au/prepaidactivation/welcome
any ideas ? has this been patched by Telstra ?